CPC - How to Add or Edit a Project Details / Gallery Page
What are Project Detail / Gallery Pages?
Project Detail / Gallery pages are pages that highlight completed projects or upcoming projects with an image gallery and details about the project.
Current and Past Project Detail Pages - https://capitalplanning.utexas.edu/projects
The terms "field" and "tabs" may be used interchangeably in this document, both refer to the same thing. The tabs (what in Drupal terminology is known as a field), are available on the left hand side when you go to edit a page and allow all kinds of programmed functionality. I have created a custom content type called "Carosel and Project Detail Pages", that contains custom fields to make the page creation and updating process as easy as possible and because they are necessary to extend template features.
Important: This guide assumes that you have had taken our Drupal editor training course and that you have been trained in the use of this content type. If you haven't, please contact a co-worker who has or reach out to FAS Communications at fascommweb@austin.utexas.edu to coordinate training.
Creating and Editing Your Project Detail / Gallery Pages
Naming
- Name your new project detail page with the building name and descriptive text in front of the project number to distinguish these pages from the construction projects that start with their project numbers.
- Shorten and name as concisely as is reasonable. Ex - Sarah & Charles Seay Building Addition 102-1219 - (I've) removed the "M" and "E" middle initials from the page name as this is extraneous information.
WSIWYG / Body
Add your primary text content here.
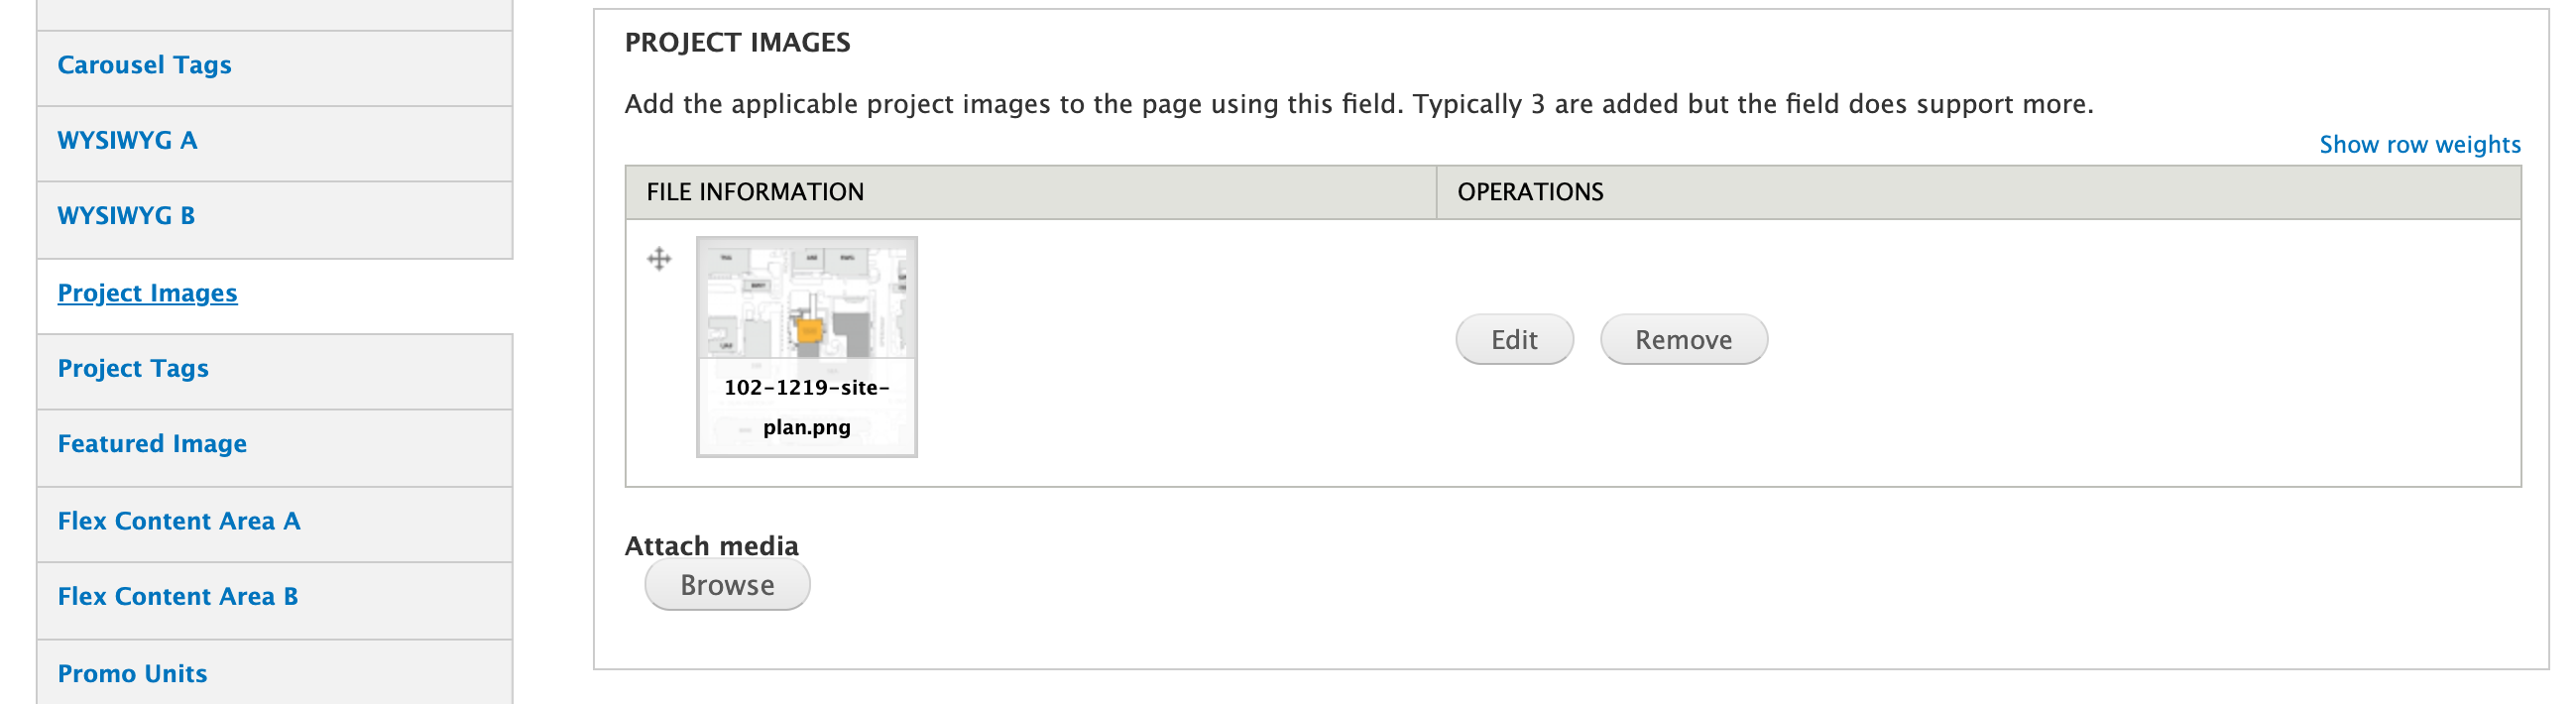
Project Images
- Add the project images you want displayed in the gallery here.
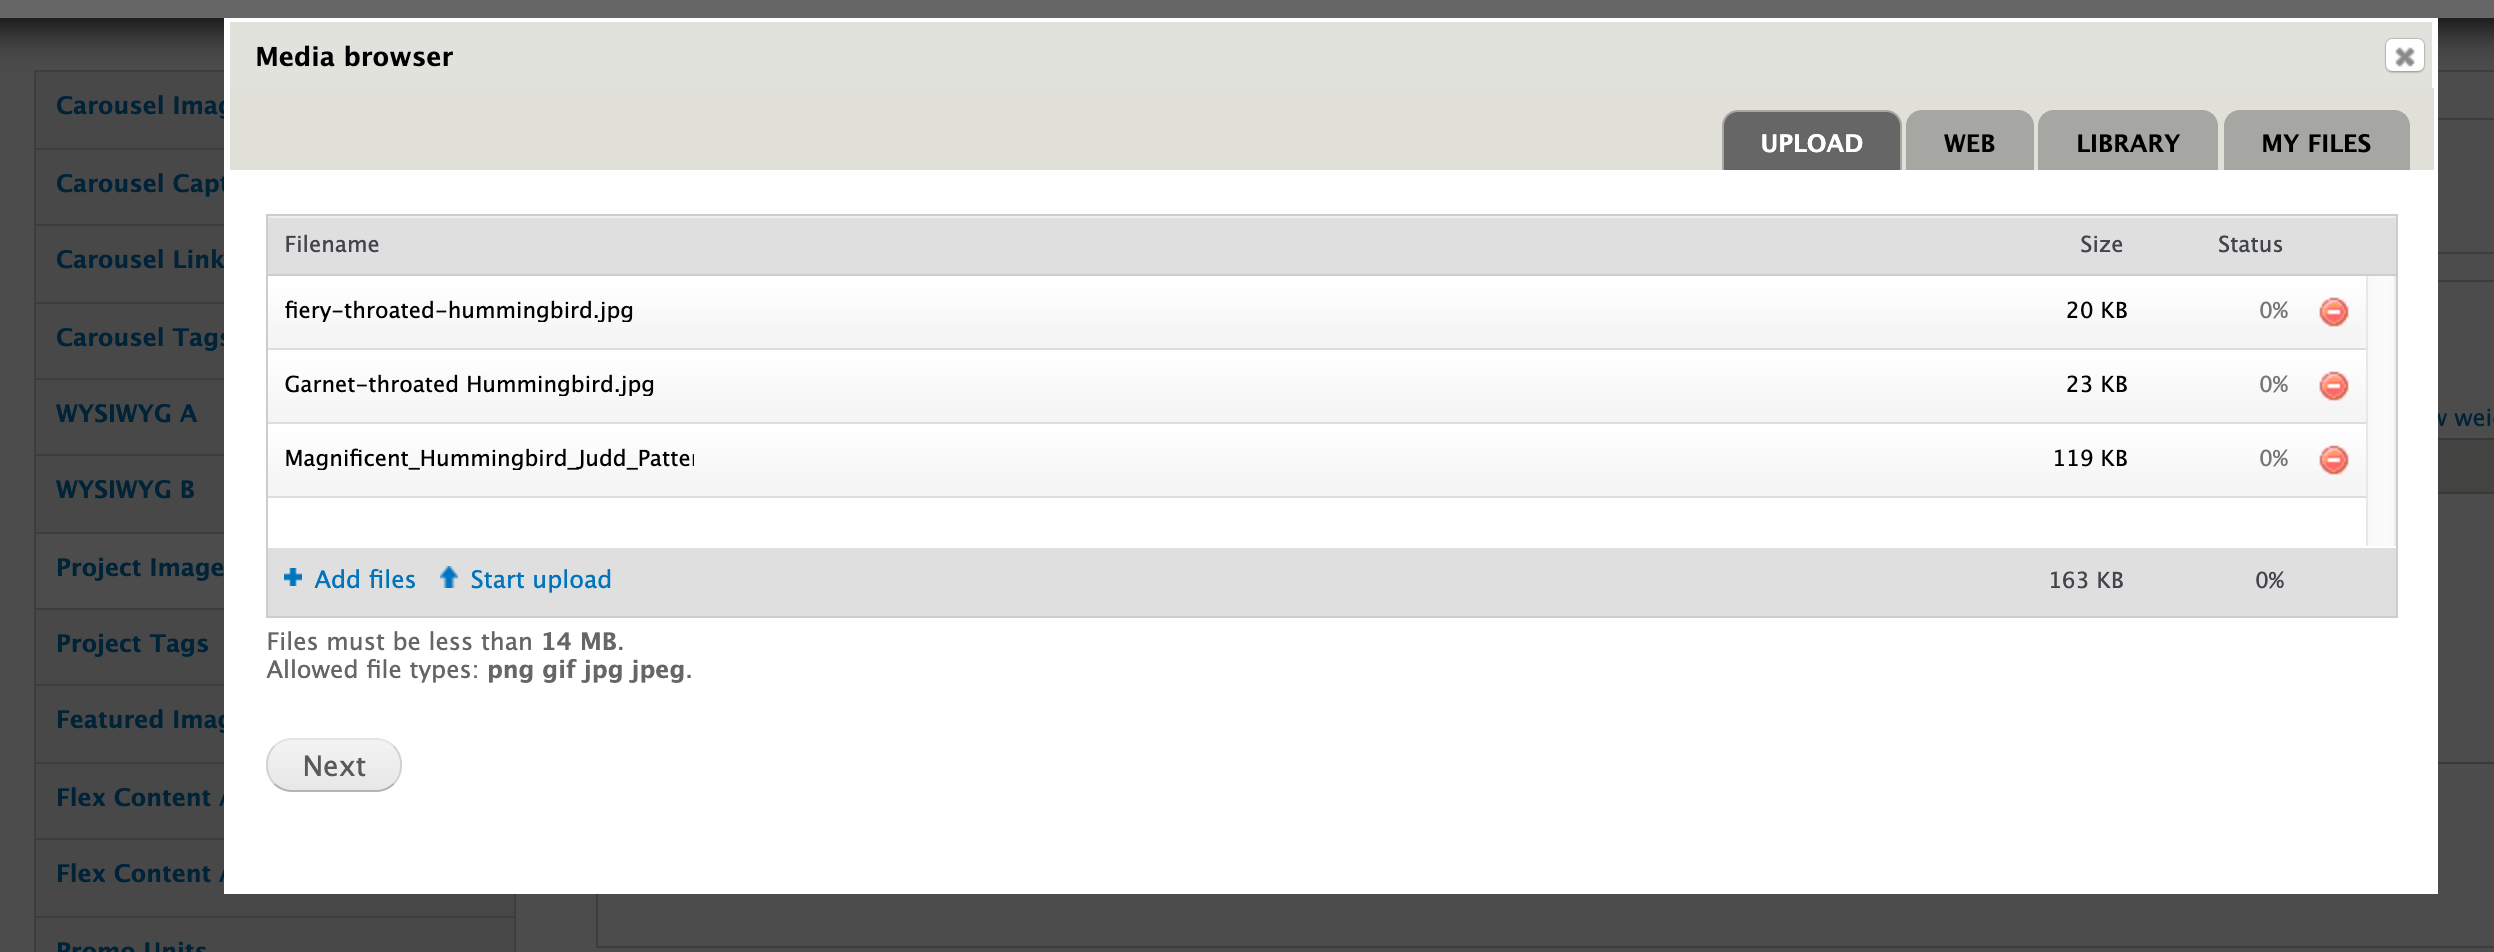
- If adding new images, then select from the desktop or external drive the images you would like to add. Choose the library if the images have already been added to the drupal file system.
- The images will be automatically cropped, scaled, and formatted for the gallery.
- Up to 14mb images are allowed but to save UTWeb server space, i recommend downsampling the images in advance to be 7mb or less via popular desktop image tools like google photos or an online tool like https://picresize.com/.
- Important Note: While this will add images for display to the gallery for the page, they will not be shown properly until you either select an existing project tag or create a new one and then return to the page to select the newly created term. In addition to this, it is critical to mention that the Project Gallery views page component will not be able to display your newly added project images on the page until a moderator or admin publishes the newly created page.
A bulk upload module has been added that will allow you to upload multiple images at once along with all of their alt text that is required for government accessibility requirements after clicking "start upload" and or "next".
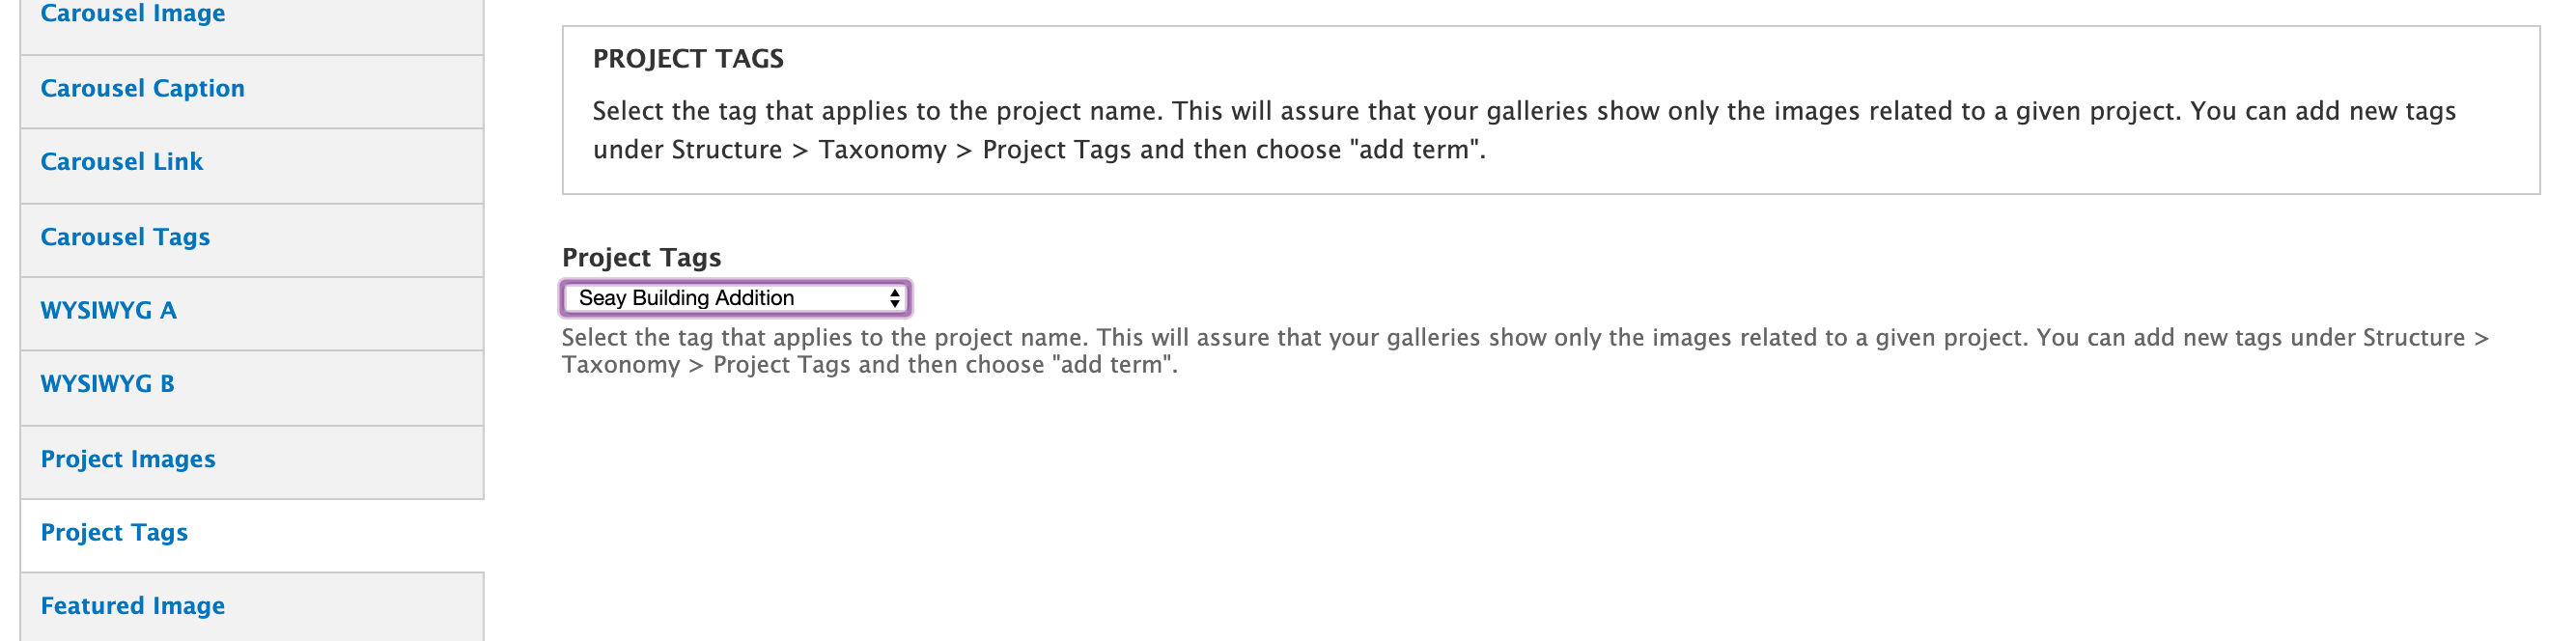
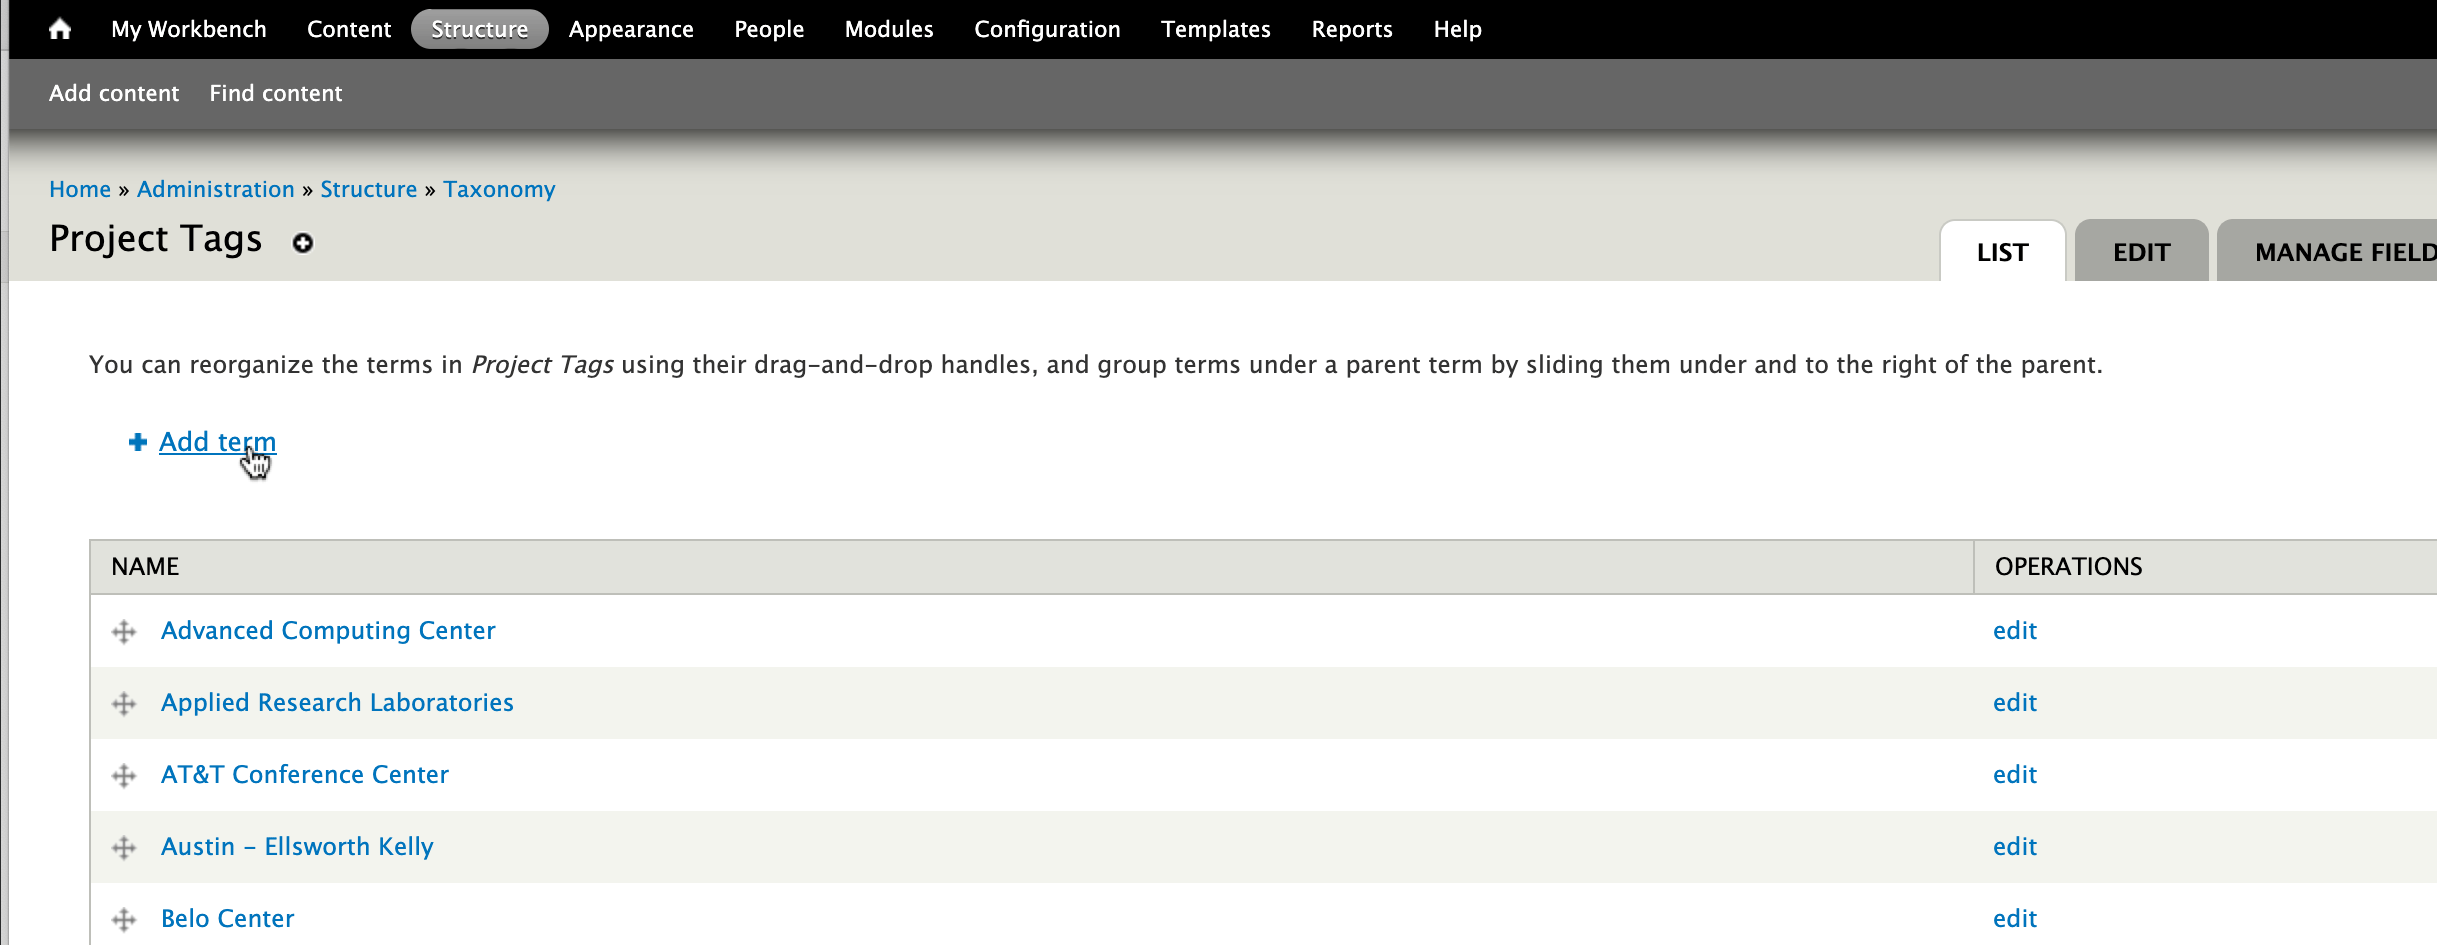
Project Tags
Selecting an Existing Project Tag
Select an existing project tag from the dropdown menu under the the "Project Tags" tab. See "Creating a New Project Tag" below if the project does not utilize an existing tag.
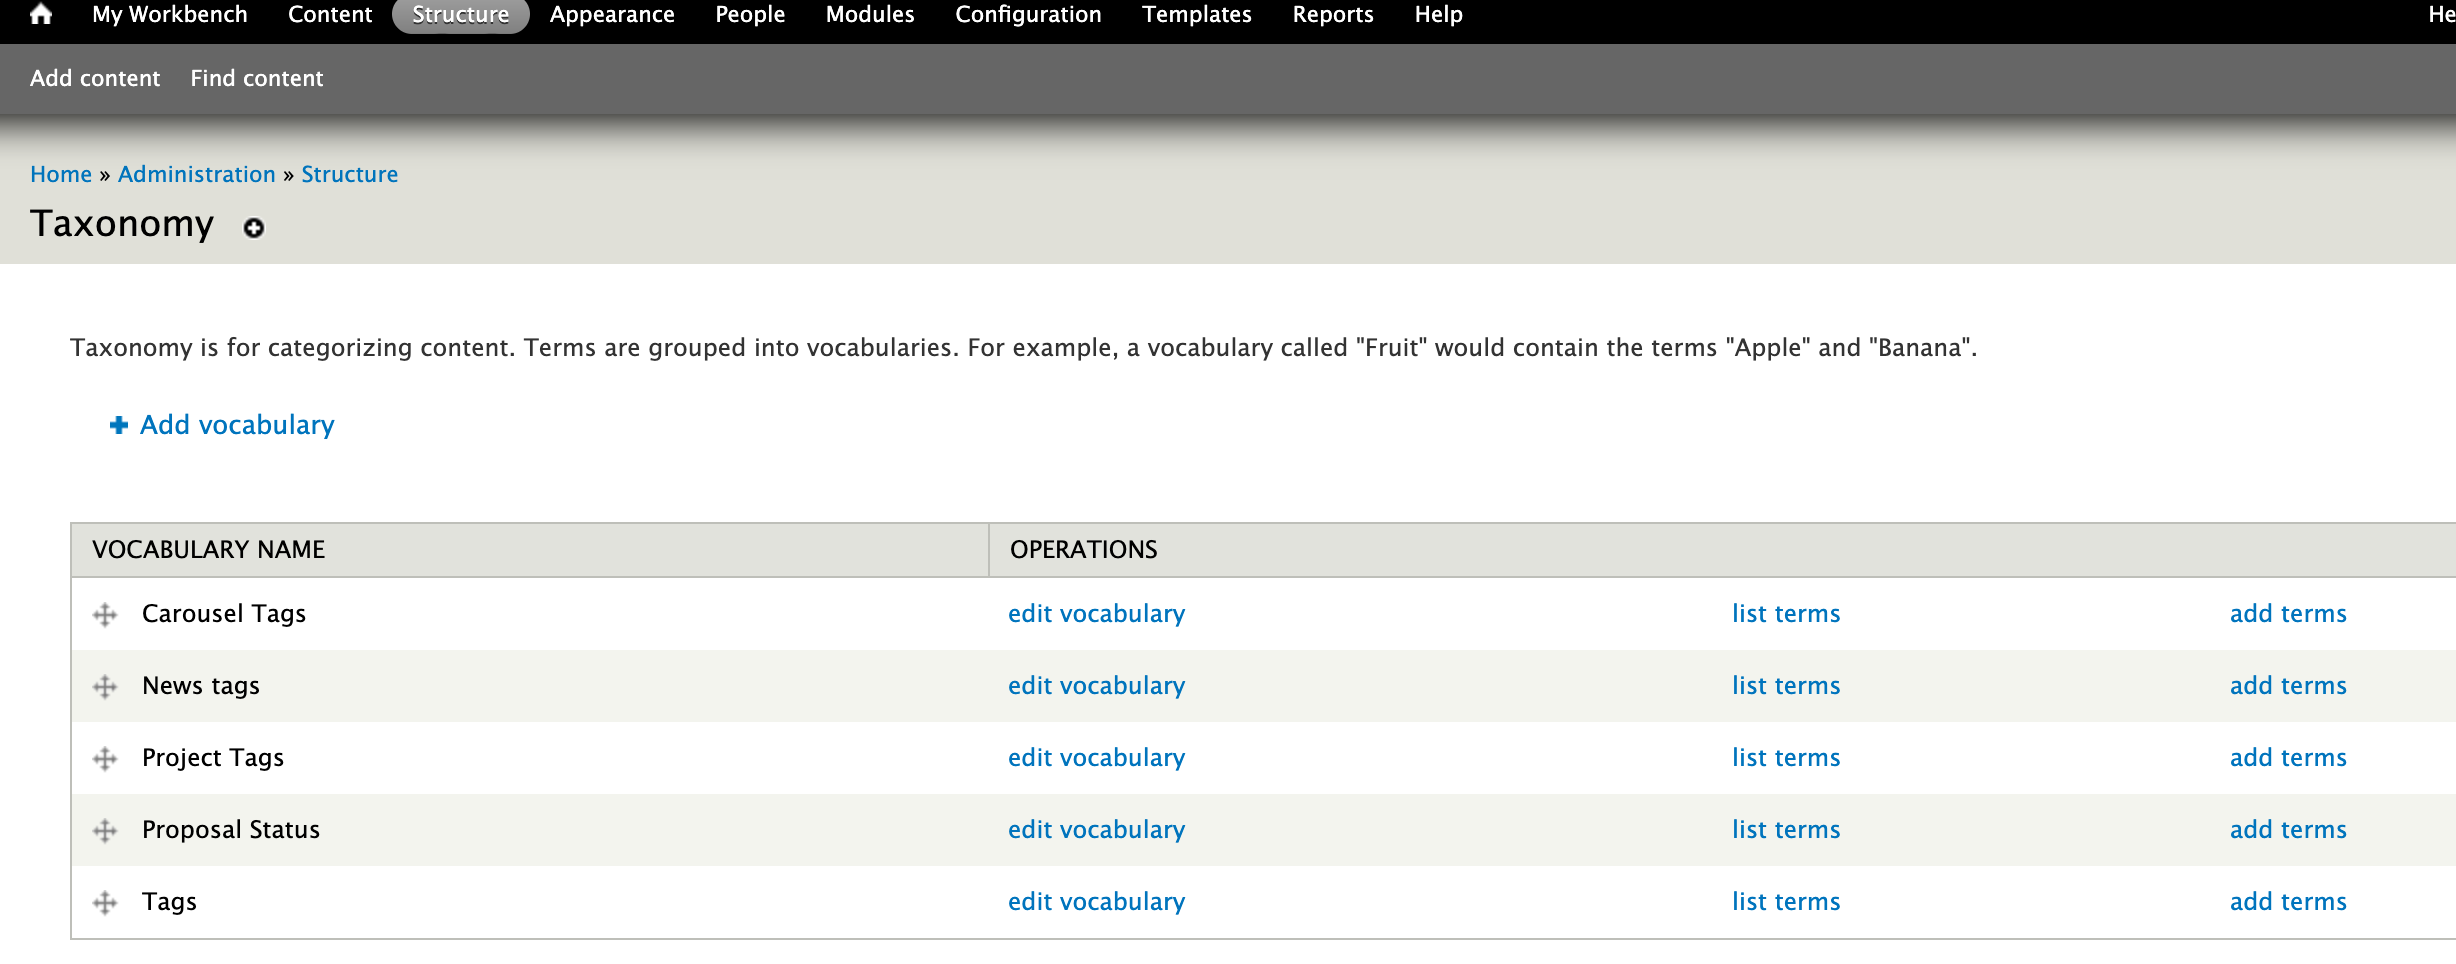
Creating a New Project Tag
If the page is a new project and or upcoming project, you will have to create a new tag. The purpose of the tags is to show only the images related to the given project and they are essential for the page gallery to work properly. This can be done by clicking on Structure > Taxonomy > Project Tags (click "list terms"). If you have the necessary permissions, you will be able to navigate to these pages when logged in via these aforementioned links. If you don't have the necessary permissions, please contact trecs.web@austin.utexas.edu.
Once here, click "+Add term". The only form item here that you need to enter is the name of the tag, do not enter in any other info or alter any other settings. Scroll to the bottom and hit "save". Your new tag will now be available on the project page tags dropdown.
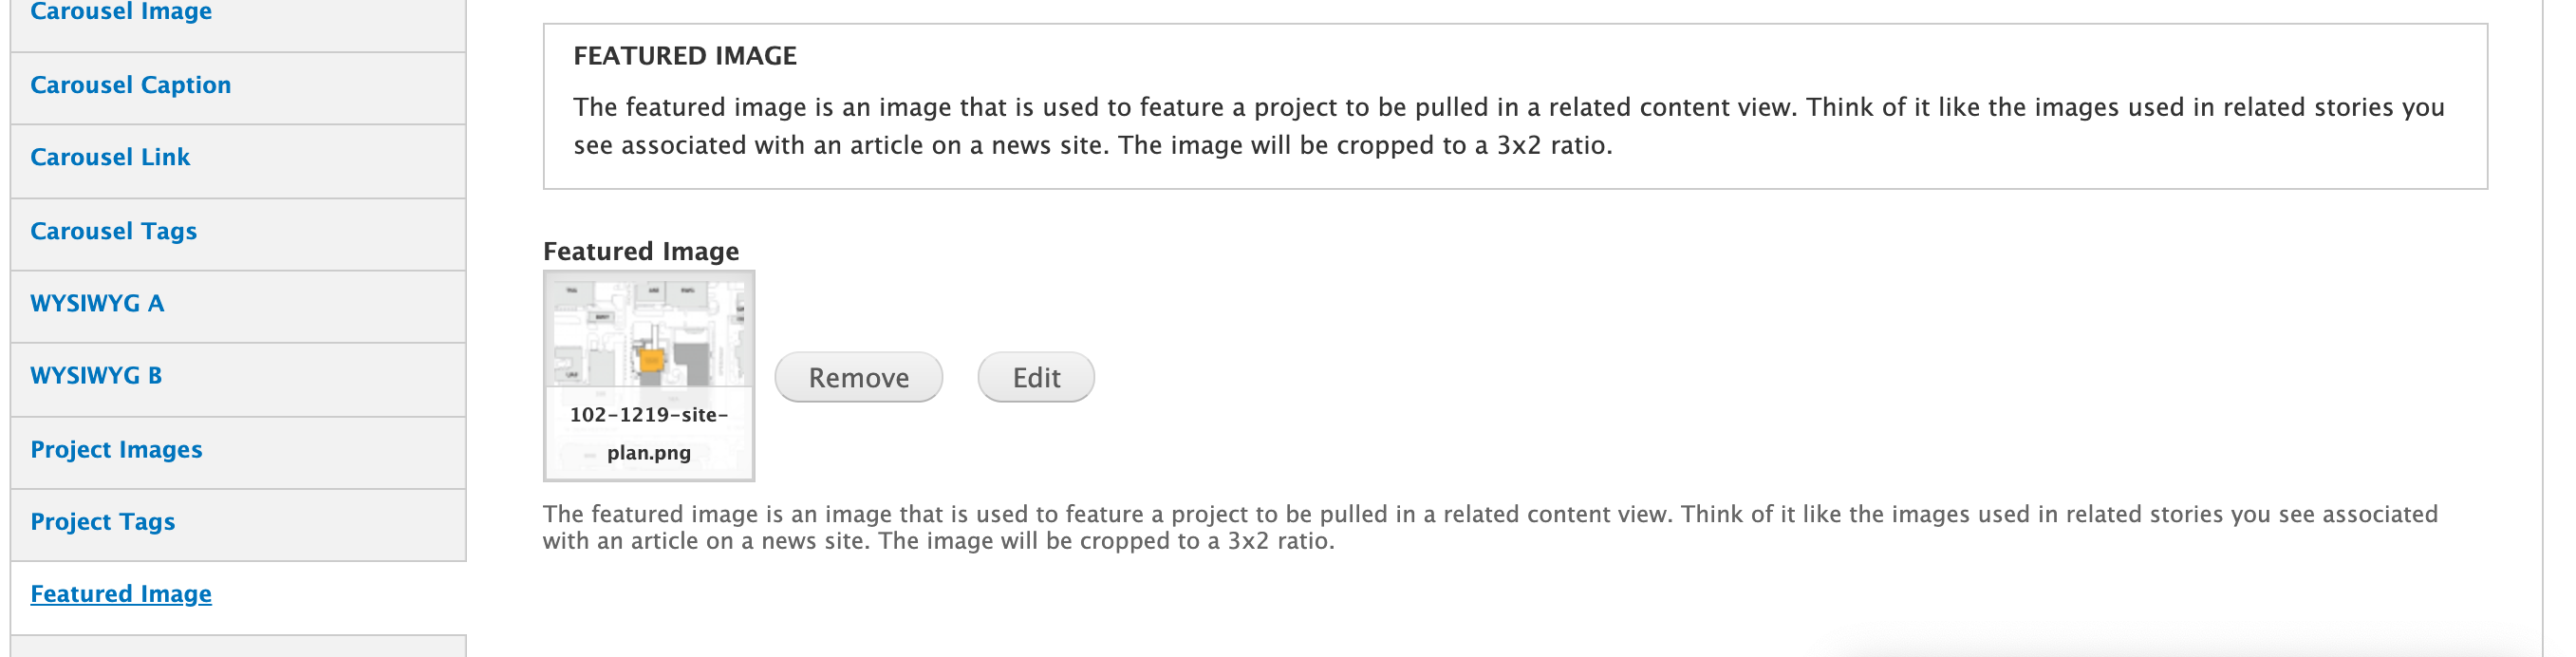
Featured Image
The featured image field determines the image that will be be displayed in the "Other Projects" view that shows off a randomized selection of the published projects at the bottom of every project page. Think of it like the related articles or news you see on so many websites today. The "Other Projects" view functions in much the same way, encouraging the user to click on other completed or upcoming project pages. You'll want to choose one of the better images available for the project that you'll likely have already uploaded with the project images, in which case you'll be selecting the image from the library tab after you click on the "browse" button.
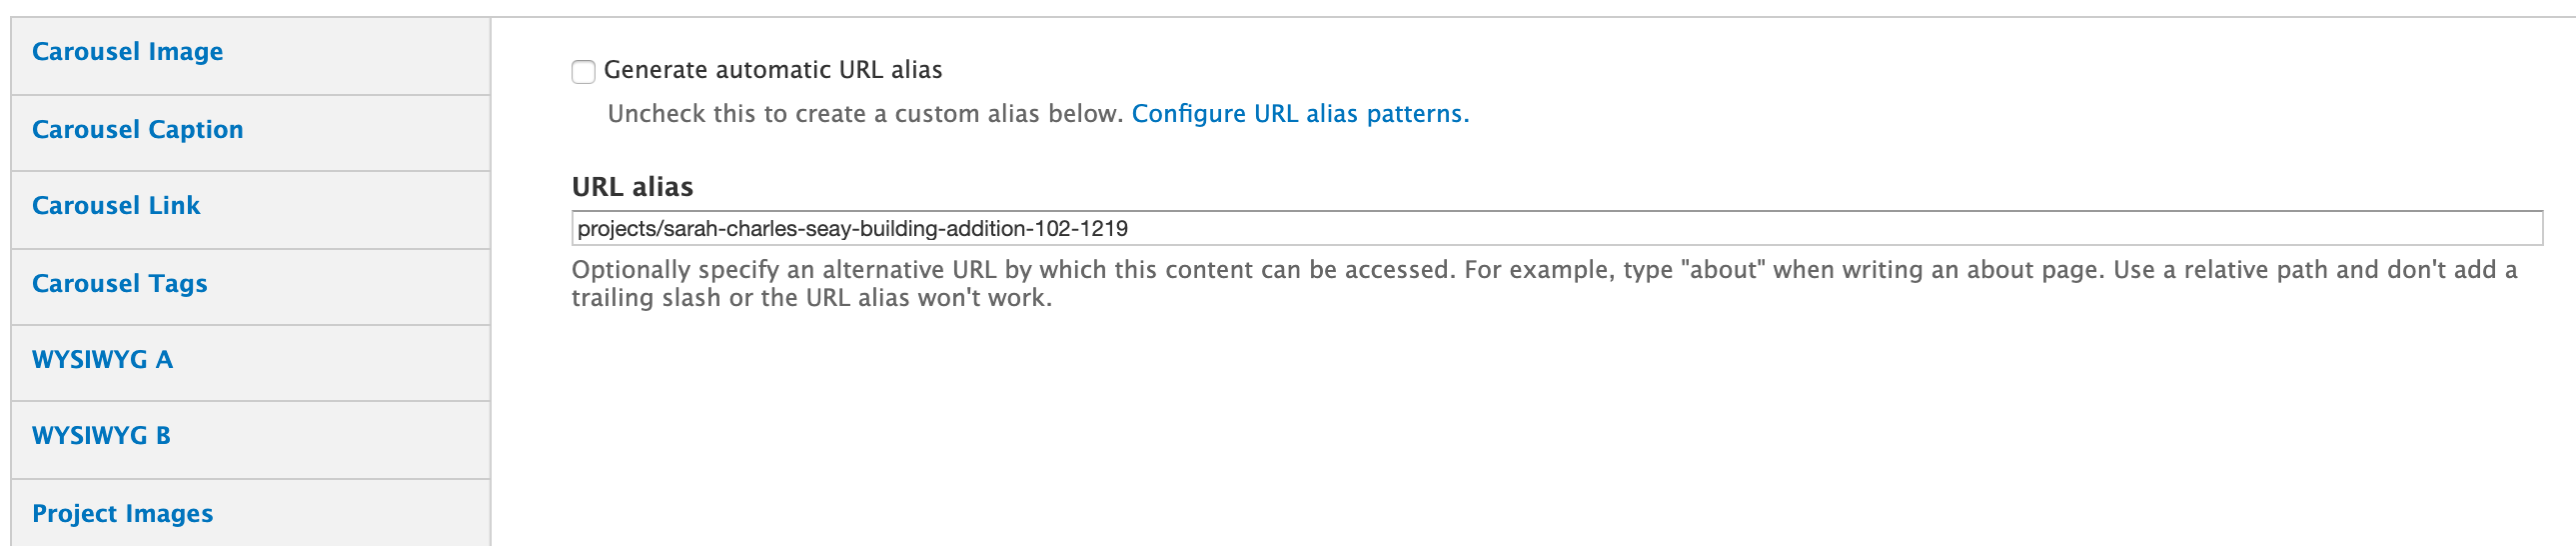
URL Path Settings
By default, Drupal places all pages at the root level (ie - mywebsite.edu/my-new-page). Structure and hierarchy has been built out to have clearer page / url path relationships and clarity when sharing links. Click on the URL Path Settings tab and uncheck the "generate automatically" setting. Then you add projects/ in front of the name that’s already been generated with NO preceding slash in front of "projects" (you'll break the page). You can actually figure this out if adding a new page to any section by simply browsing to an existing content section on a page and looking at what the url path is in your browser bar.
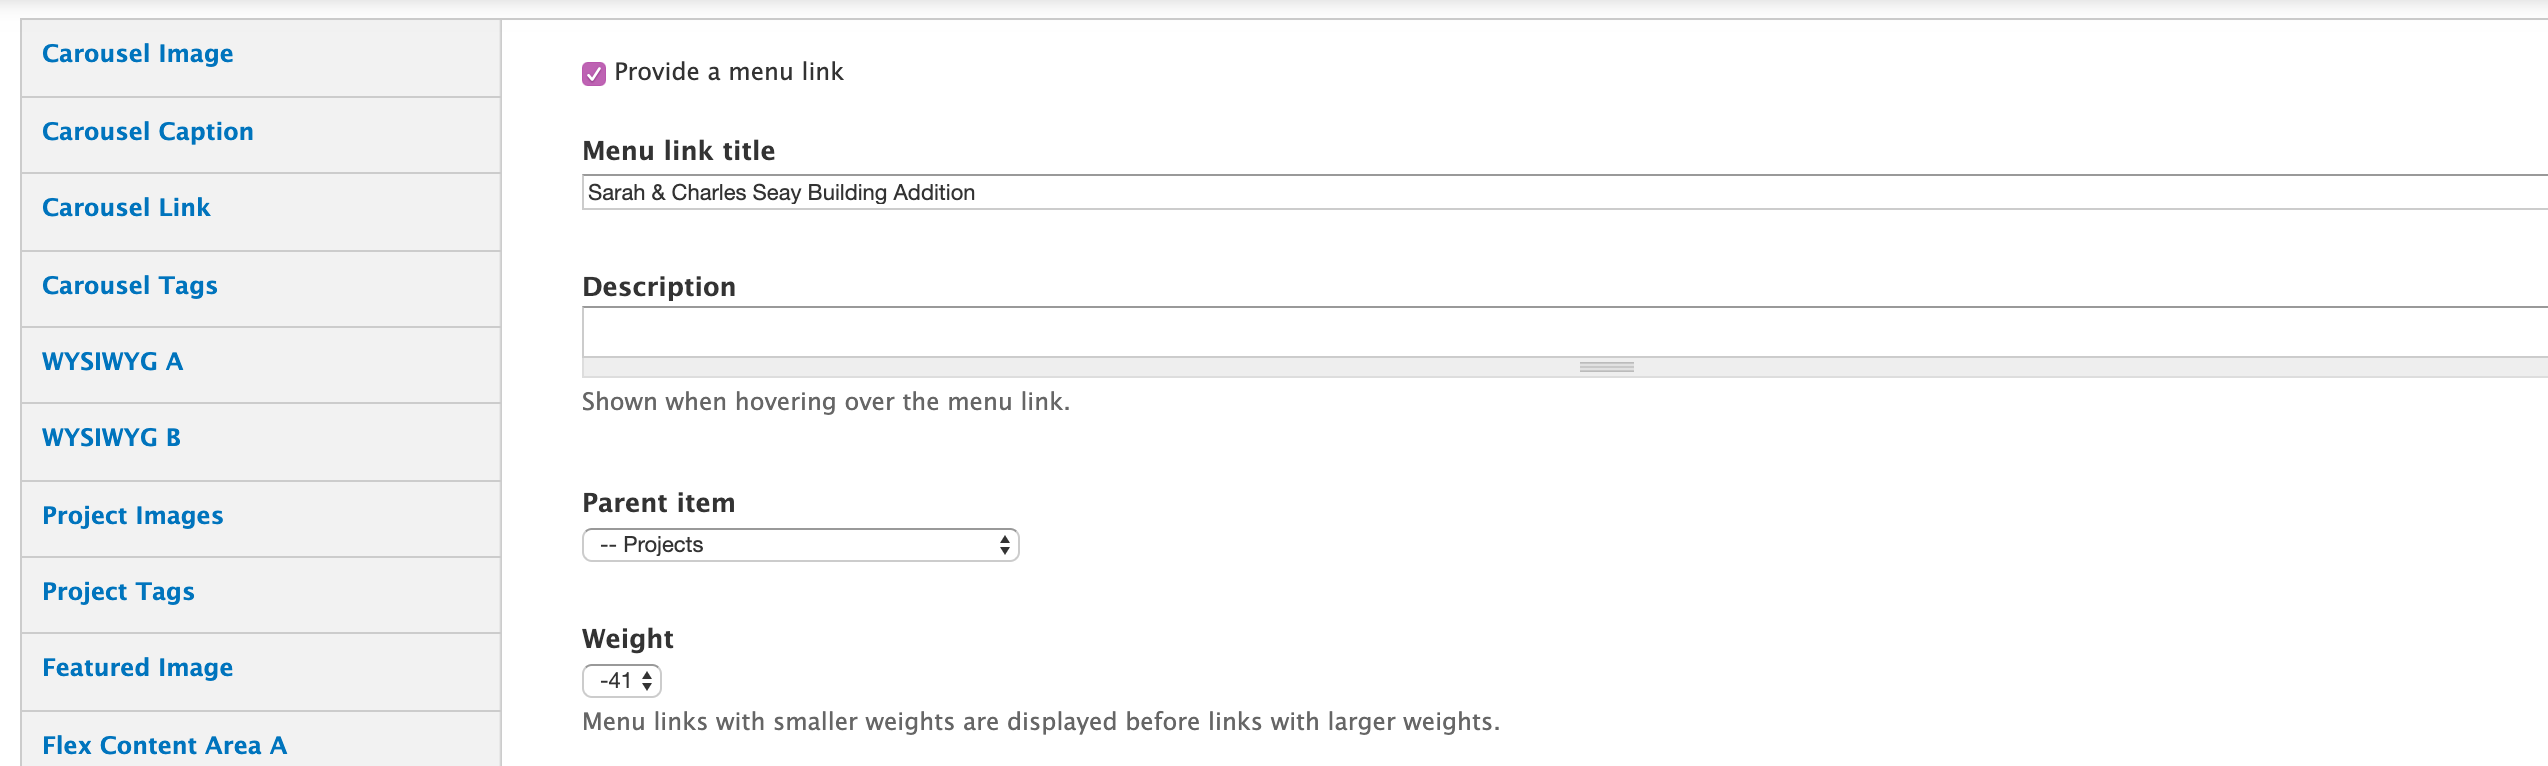
Menu Settings
New pages are not automatically added to the menu. You'll have to add new pages to the menu via the menu settings tab. Select the appropriate parent from the dropdown, in this case, Projects. The menu name does not have to be the same as the page and title and some cases it may be desirable to shorten it. Generally speaking, it is a best practice for SEO (search engine optimization) to have it named the same as the page title. Do not worry about the description field. After this done, your new page will show up in the section menu automatically after the page is published.
Wrap-Up
That's it, you now know to create and manage these pages!